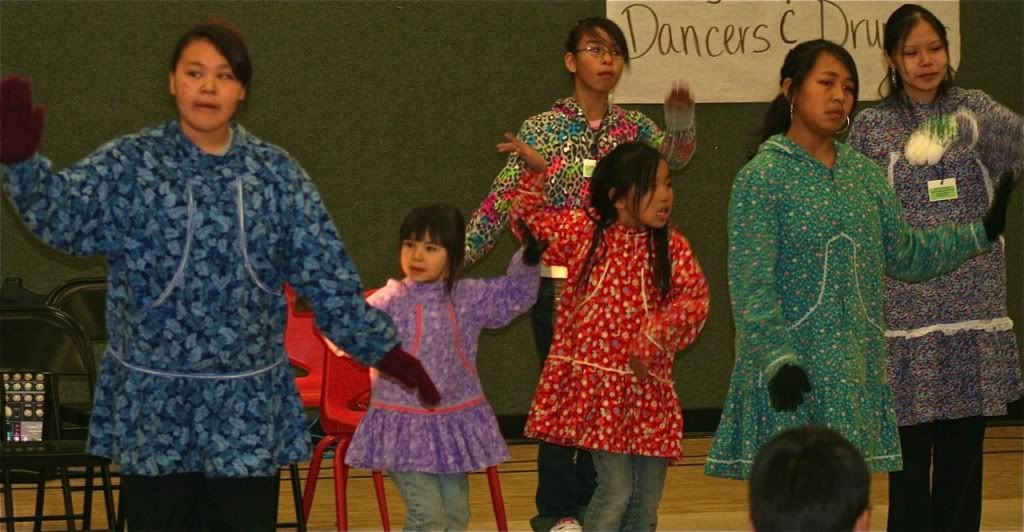
We get quite a few hits to our blog of people looking for information on kuspuks. Kuspuks are a traditional shirt worn by Eskimo women in the summer or for special occasions. (There is also a men's version.) They are made out of cotton fabric and though the designs vary slightly from village to village, they are basically the same concept. They are loose fitting, have a hood, a pocket in the front and often have a flounce at the bottom.
I'm writing this as a tutorial for anyone interested in making their own kuspuk. I doubt this will have
all the information you need to make a one but hopefully it's a start.
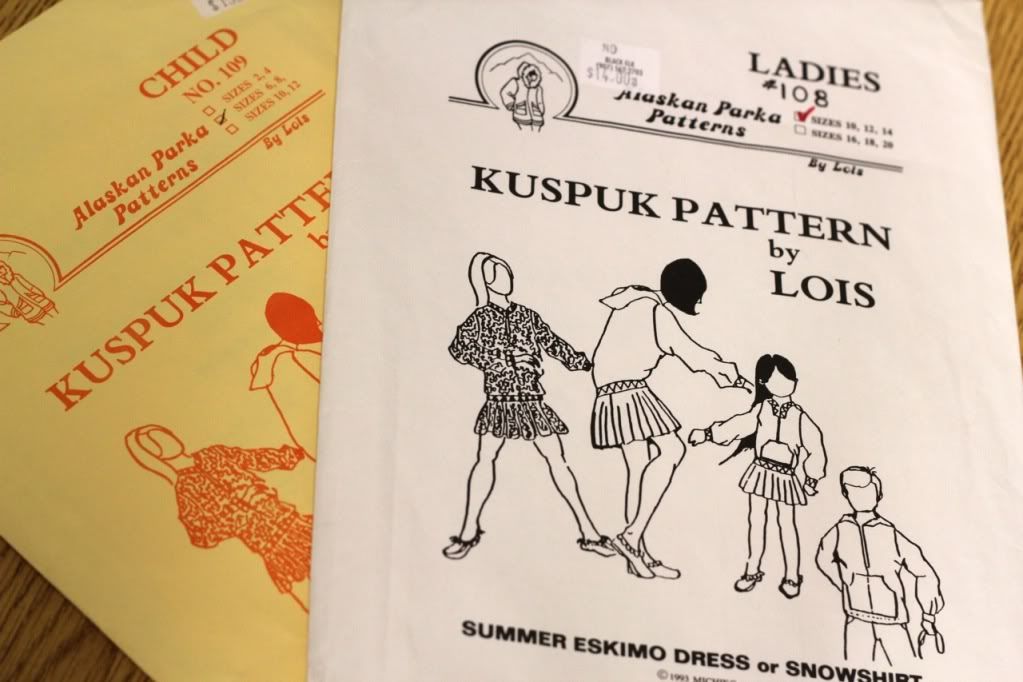
I have only found one commercially printed pattern called
Kuspuk Pattern By Lois. There are a couple places I know about to buy Lois's kuspuk patterns in Alaska. The first is
Arctic Trading on Front Street in Nome or at
Black Elk in Anchorage. The pattern pieces aren't exactly shaped how I like and the directions are written very poorly (sorry Lois) but again it's a place to start. If you are lucky enough to live in a friendly village like Brevig Mission, you can also ask around for people's existing patterns. You just may be able to copy someone's tried and true pattern.
Phase 1: Cut It Out
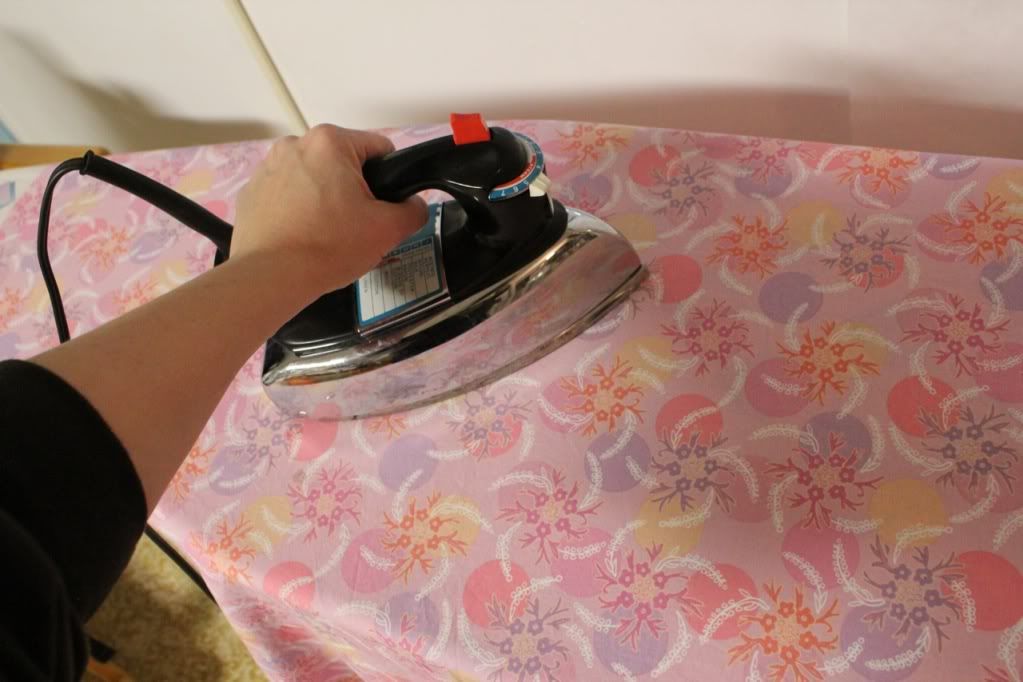
My mother always taught me to wash and iron my fabrics before beginning a project. Sometimes I cheat on this but it really is a good idea especially if you're buying a cheap fabric from someplace like Joanne Fabrics. (Again sorry Joanne's but your stuff is on the low end of the quality scale.) I prefer to buy cotton fabrics at a quilt shop but it is quite a bit more expensive.
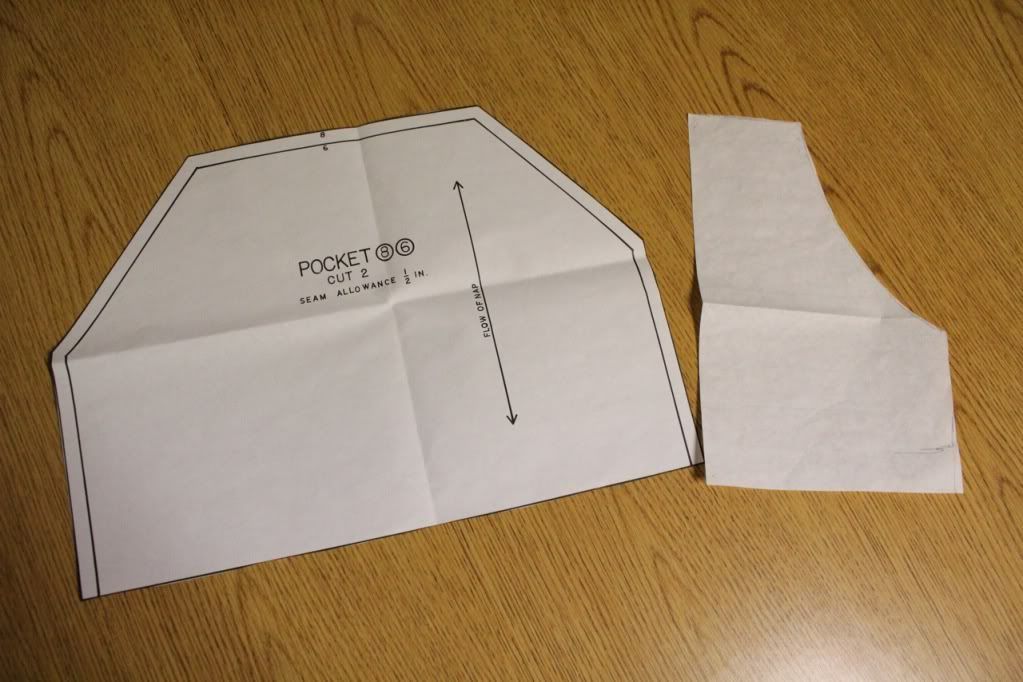
The pocket shape in the Lois pattern isn't at all like what they use in Brevig so I just made my own from a piece of paper. Here we use a rounded edge at the opening. Paper is cheap, so just eyeball it, or copy someone's you like. Fold the paper in half before you cut to make sure you get a symmetrical piece.
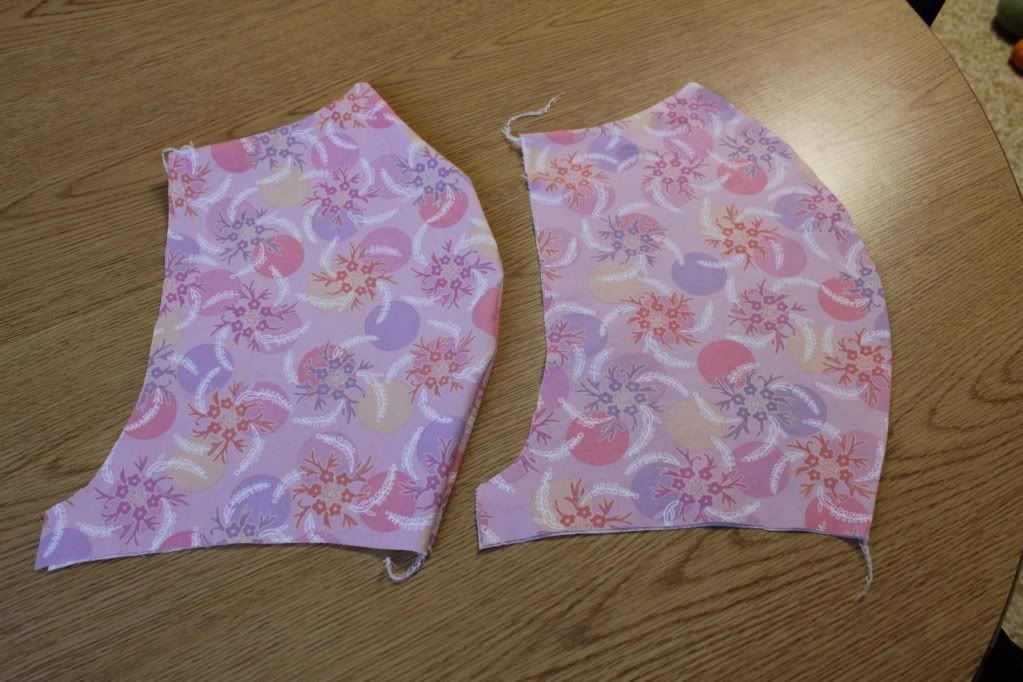
The pockets should look about like this.
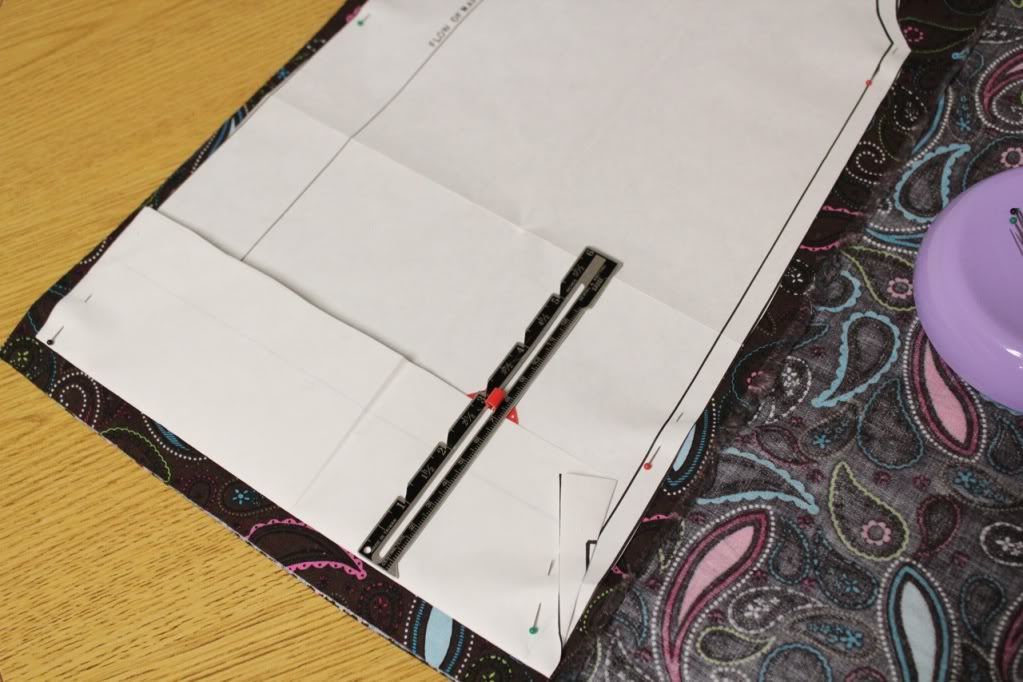
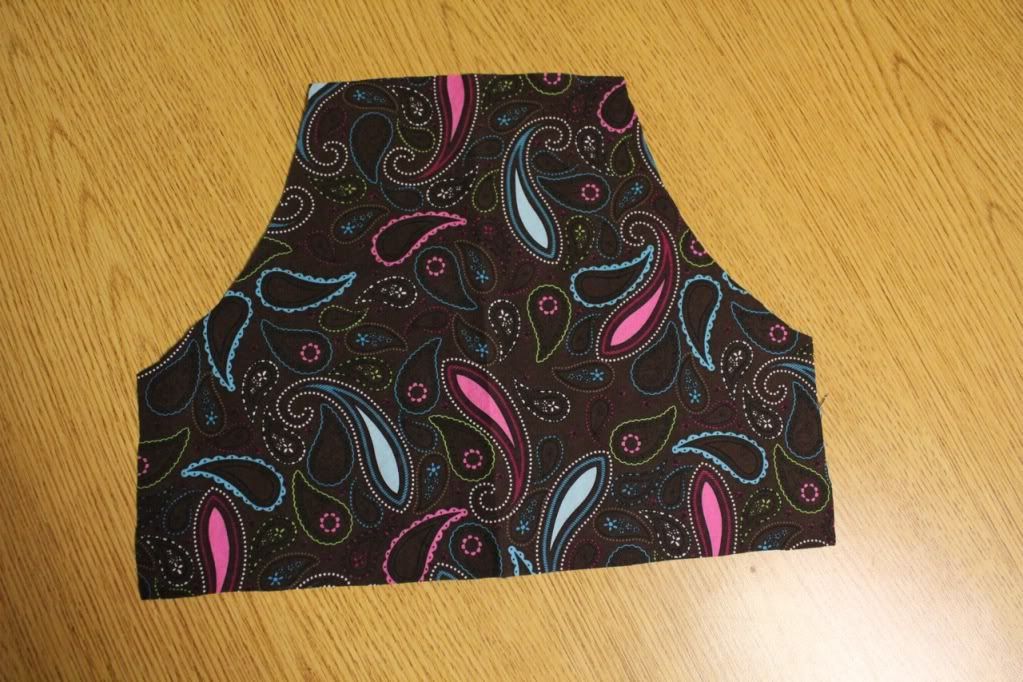
I think the length of the back and front pieces in the pattern are way too long, especially for a short person like me. I shortened these piece about 3 inches.
I cut out 4 hood pieces in stead of just two. This way when you sew it, the hood is fully lined and you don't have to look at the ugly wrong side of the fabric when the hood is lying down. I have also found it necessary to add a half inch extra length to the hood pattern piece right at that bottom tab that wraps around to the front. You can always trim it off later if you made it too long but it's hard to add fabric if it's too short to reach around the neck edge.
Phase 2: The Trim
Take your time when doing the trim. It is o.k. to use only one strand of decorative trim or rick-rack but I have found that one strand looks too plain and gets lost on the fabric. To give your kuspuk that "wow" factor, take the time to do it up fancy. I think at least three layers of trim looks the best. Keep an eye on the kuspuks you see around you for inspiration and ideas on how to apply the trims.
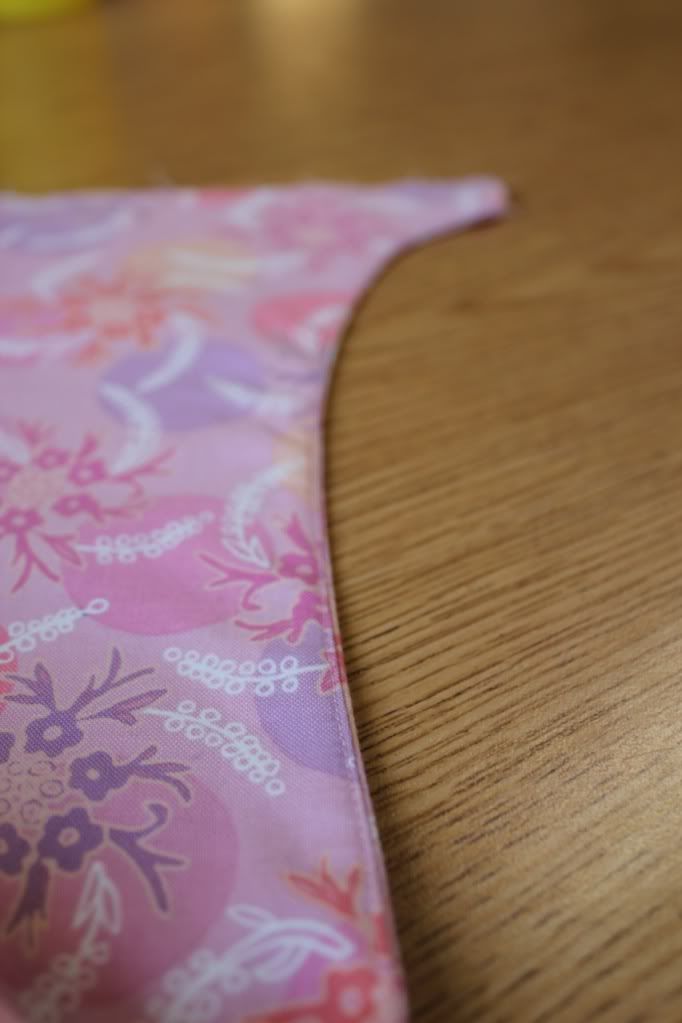
Before applying trim to the pocket, iron the edges under about 3/8 of an inch and finish with a zig-zag stitch. It helps to make small cuts along the curved edge before the zig-zag stitch to help the fabric lay down flat. Also sew the curved opening down to make a finished edge.
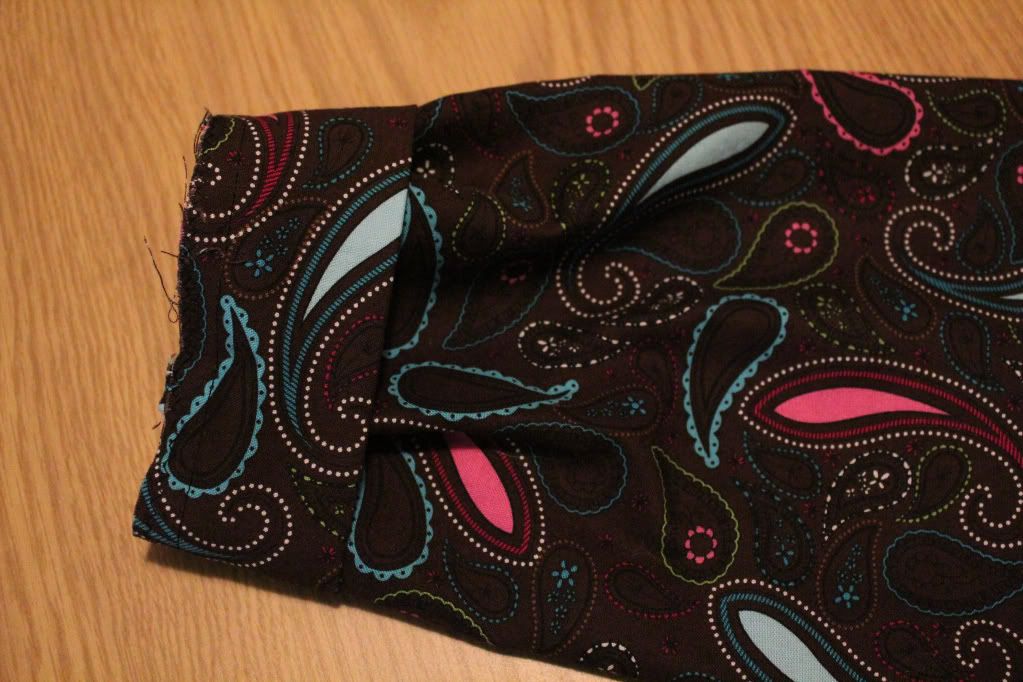
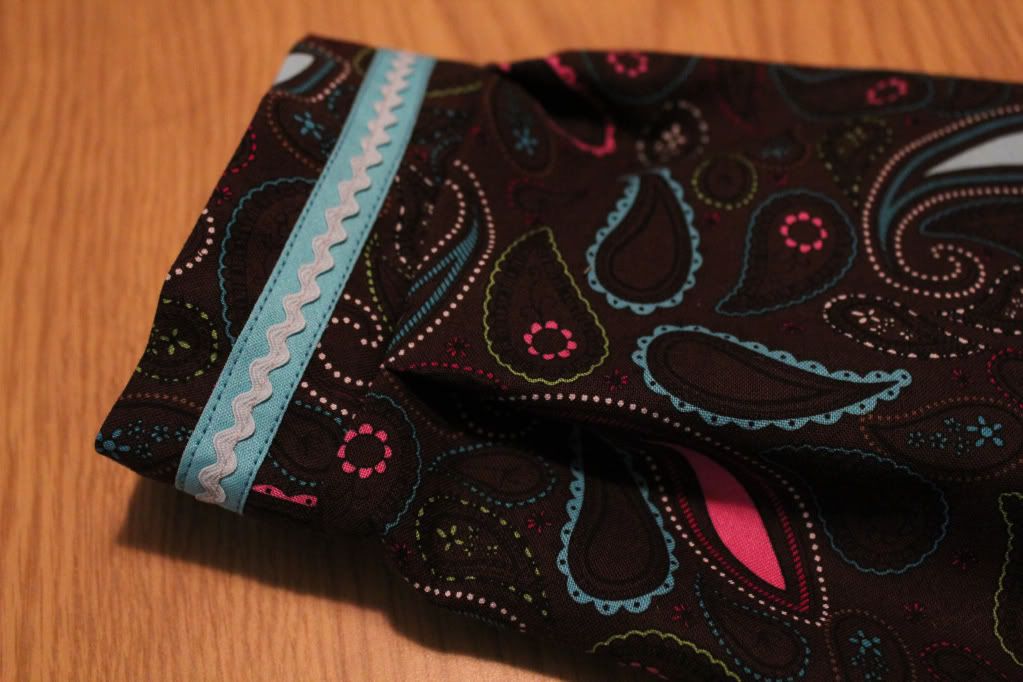
Iron the cuff pieces in half as well before you begin sewing on trim.
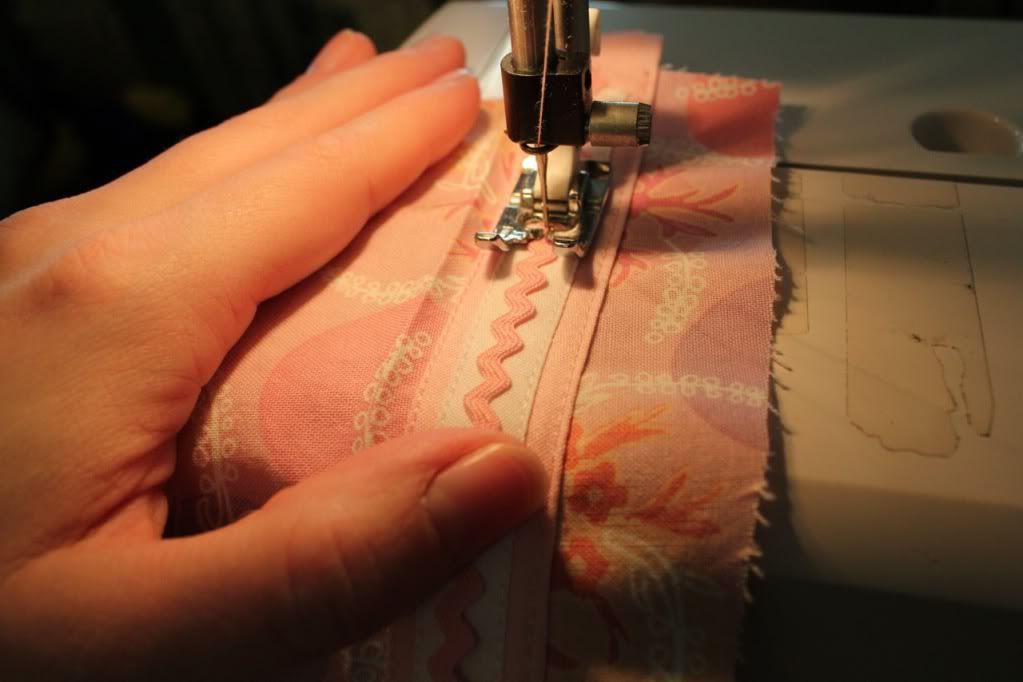
When you add the trim to the cuff, open it flat so that when you fold it in half again, the stitching doesn't show. Just one of those picky things I like to do for a nicer finish.
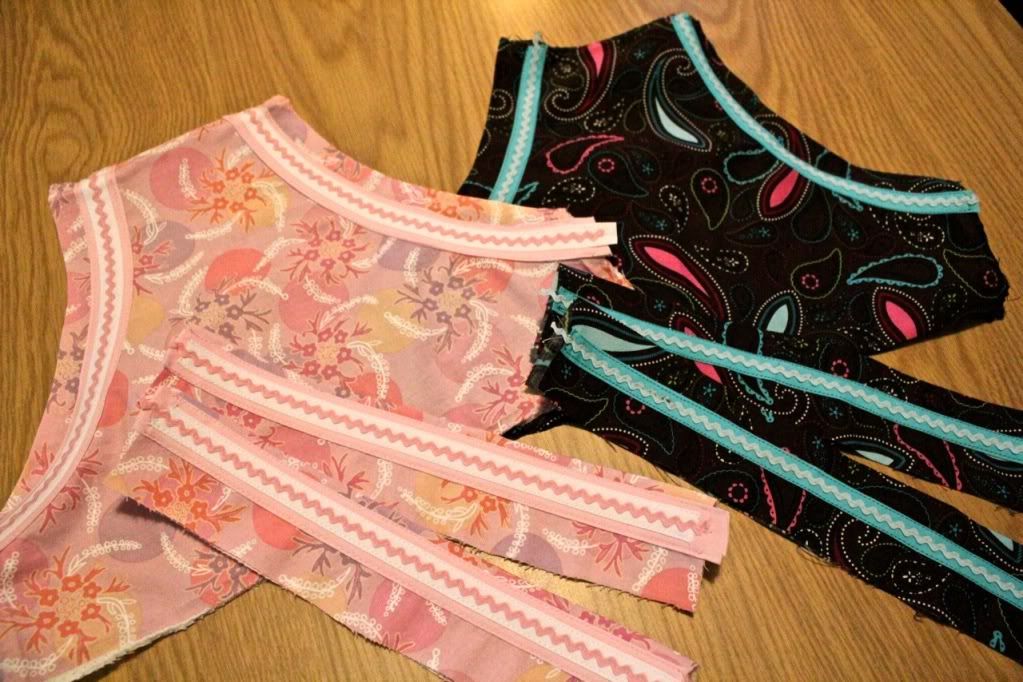
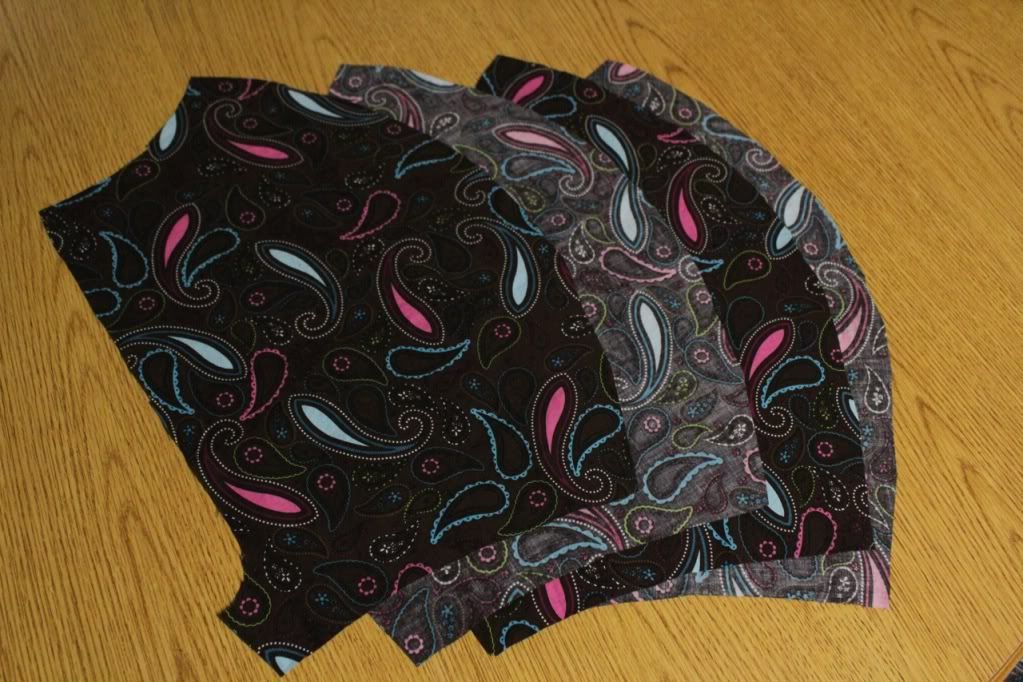
You will be left with beautiful pieces like you see above. The first few steps are slow going but don't put all your trim away yet, you will have to do trim work one last time before you are done.
Phase 3: Put It Together
Place hood pieces right sides together and sew.
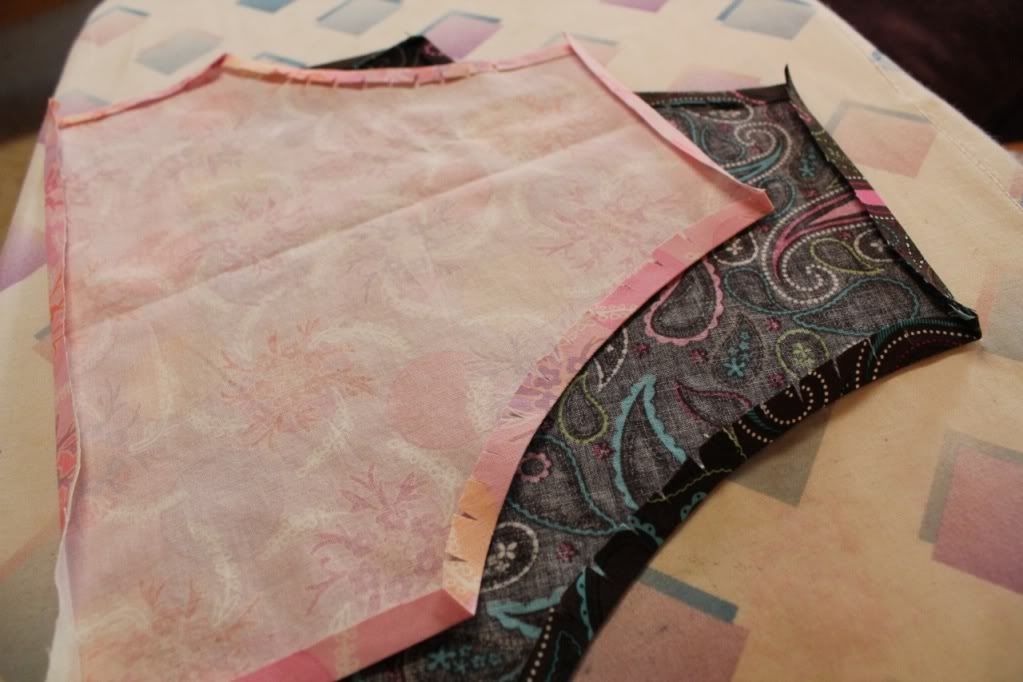
You will end up with two complete hoods, place one inside the other, right sides facing and sew together. I then like to
understitch on the piece that will land on the inside.
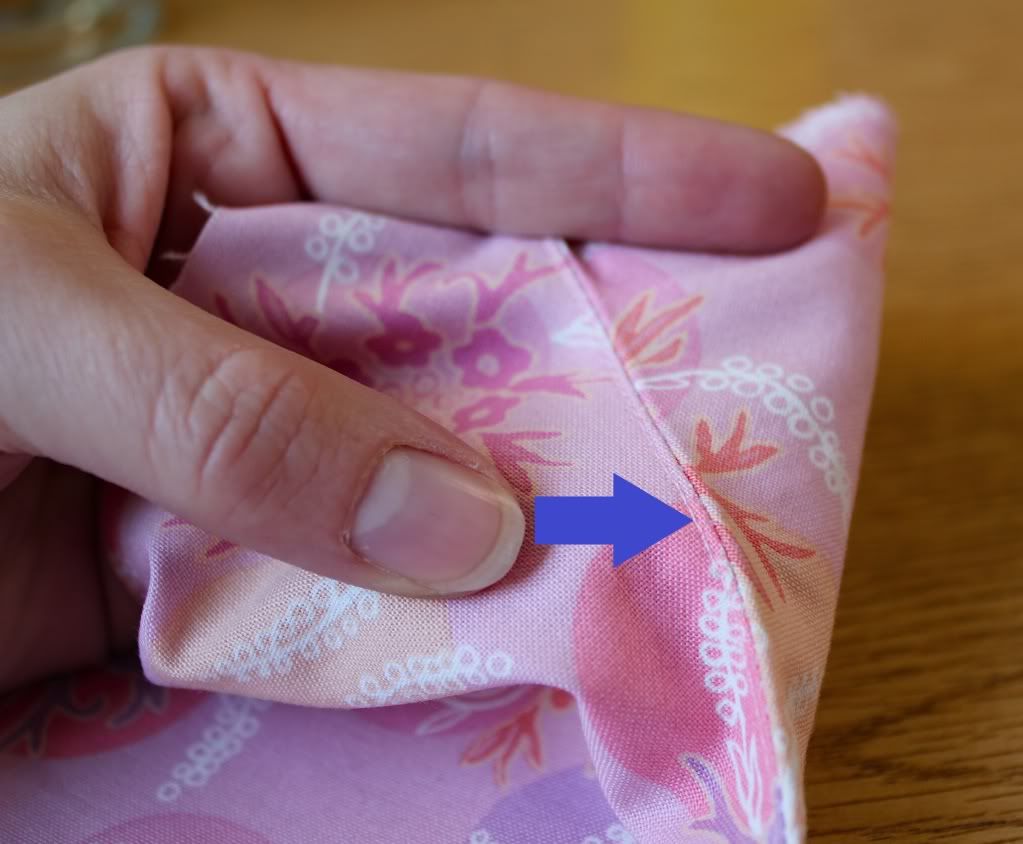
I know it's tough to see but notice how the inside piece is stitched but the outside is not, that's an understitch.
Iron a crisp edge, it's really easy to do since you took the time to understitch.
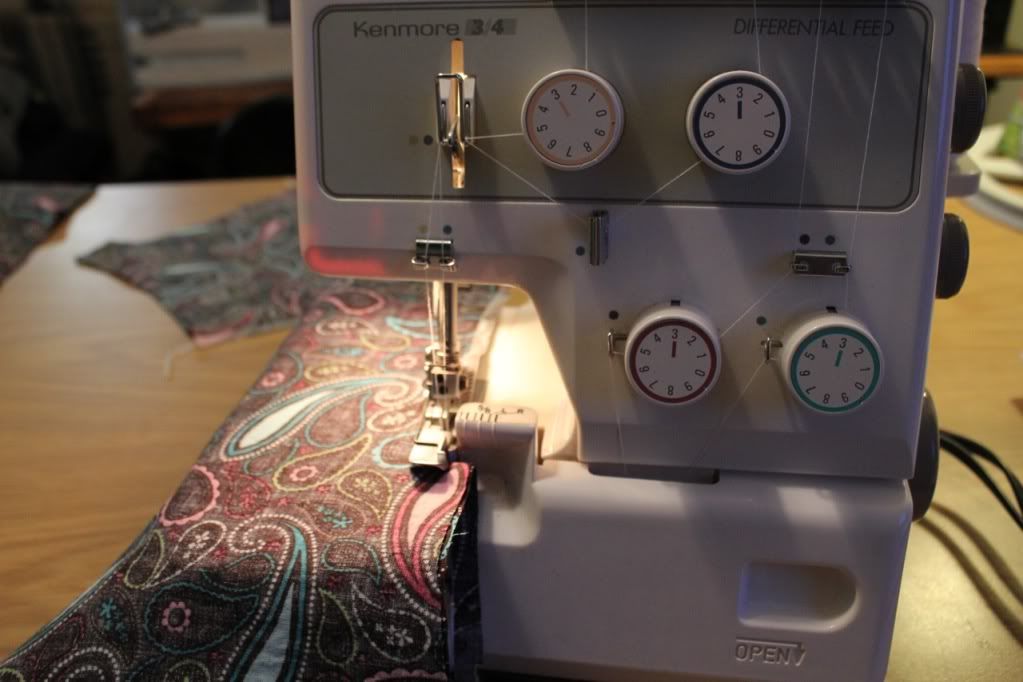
Sew the front and back together at the shoulder and the sleeve pieces into a tube. For these straight seams, I am a huge fan of surgers. They go quickly, make a nice finished edge and make it look all professional.
For whatever reason for the adult kuspuk patterns by Lois, you can go ahead and cut the front piece on the fold to make it one piece and it'll be comfortable to use as a pull over shirt. But the children's sizes have too small of a neck opening. I've tried to alter the pattern a few times to make the neck bigger but I just can't get it to work. So, I add a half zipper so kids can get the darn thing over their heads.
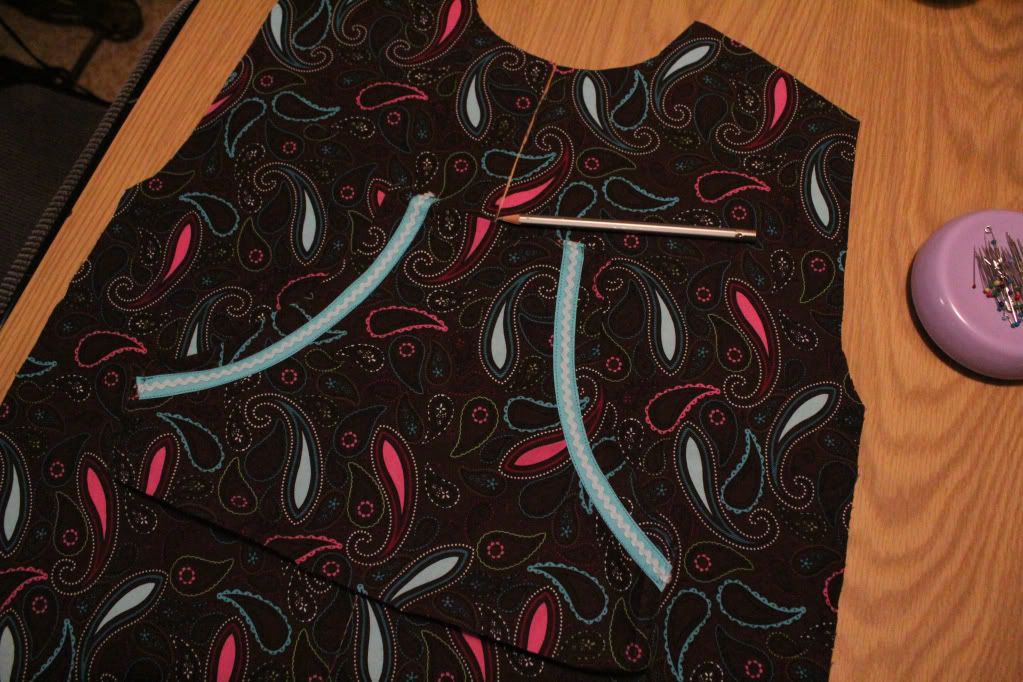
Place the pocket on the front piece where you want it to land and mark it out. Don't sew it on at this point, you're just figuring out where it'll go.
The next step is to attach the hood. I am sad to say I totally dropped the ball on this step and have no photos. And it happens to be a bit hard to explain so good luck with this part. I'll just give a couple of general directions.
For the adult hood: sew together the center neck piece on the hood first, then pin onto the neck edge make sure it is centered in the front and at the back. Sew all the way around in a continuous circle for a slip over style.
For a child's hood or adult's zip up style: The raw edge of the front opening and the raw edge of the hood neck tab should align. Attach sewing up three layers total, two layers of hood and the one layer of the body pieces.
Now it's time to attach the cuff to the sleeve. I like to make three
pleats on the sleeve. I just eyeball the distance between each pleat. I
do one on the center top and two on the sides. Adjust the size until the
cuff lines up perfectly.
Be certain you pin the trimmed side face to face with the
right side of the fabric so when you fold it open, it the trim is on the
outside.
Phase 4 (optional): The Zipper
Then flip it over to the wrong side and baste in the zipper.
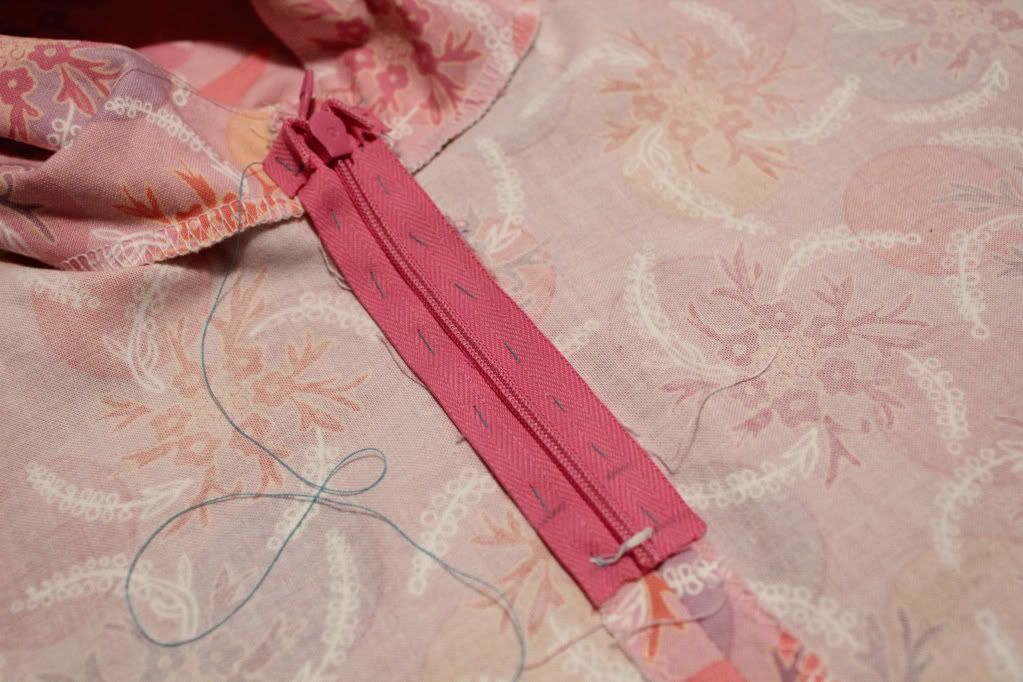
I'm not an expert at putting in zippers so just follow the directions on the back of the zipper package and good luck.
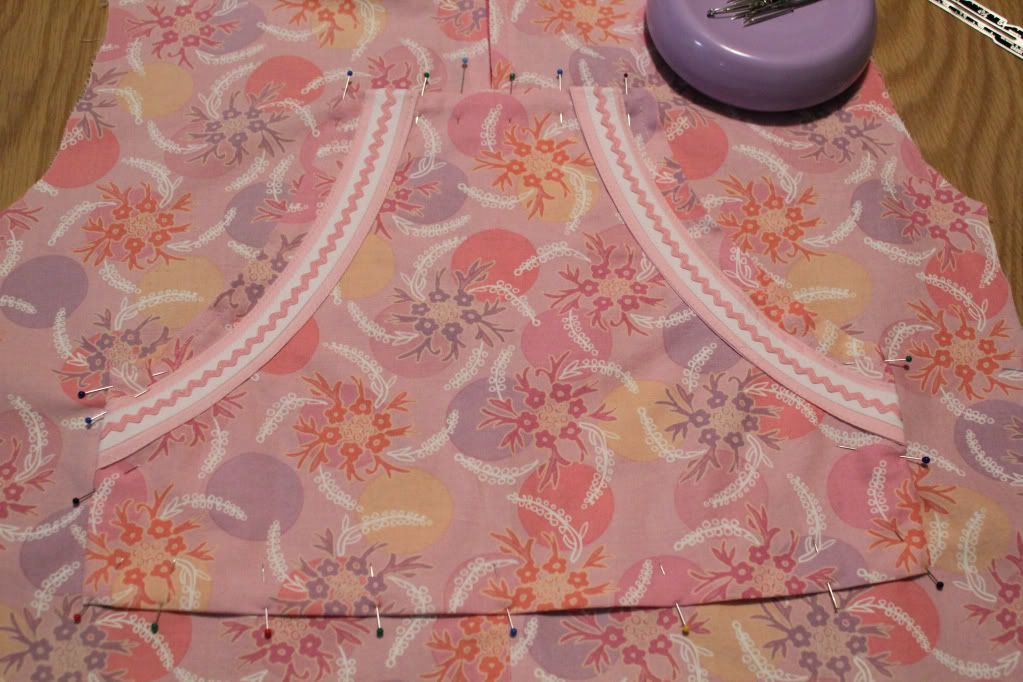
Once the zipper is sewn in place, pin on the pocket and sew it on.

Keep going you're doing great!
Phase 5: The Final Touches
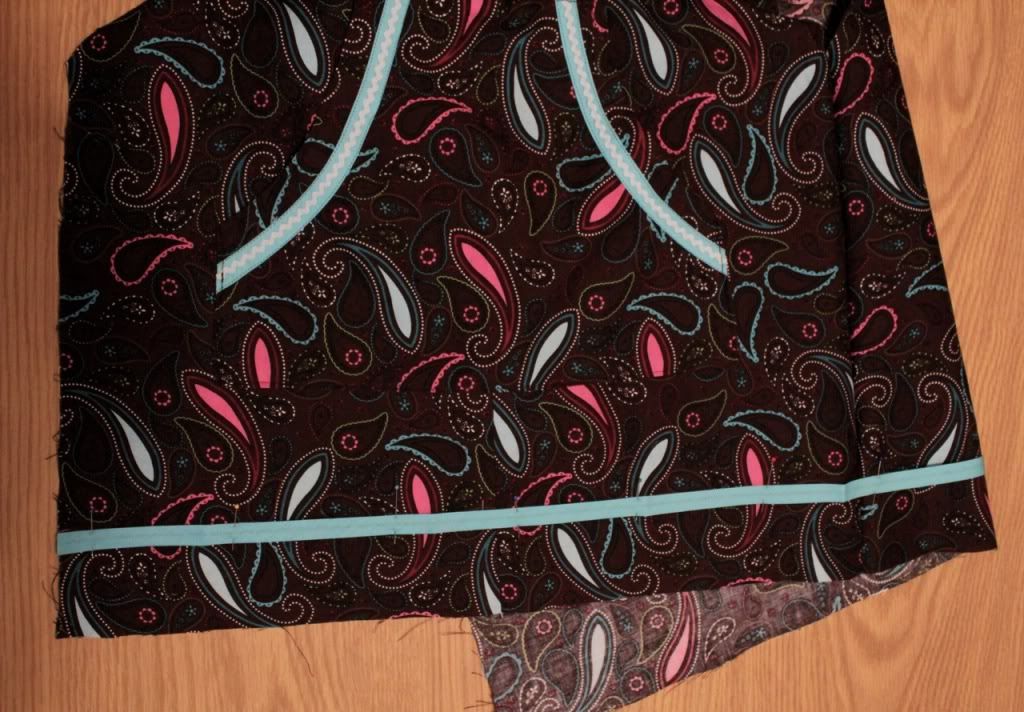
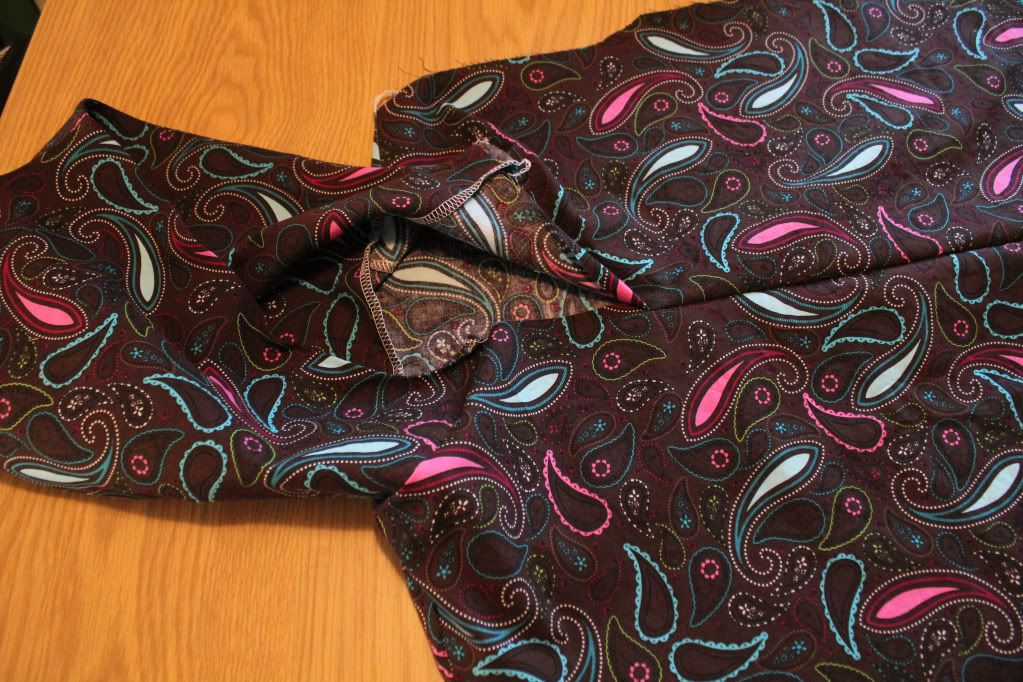
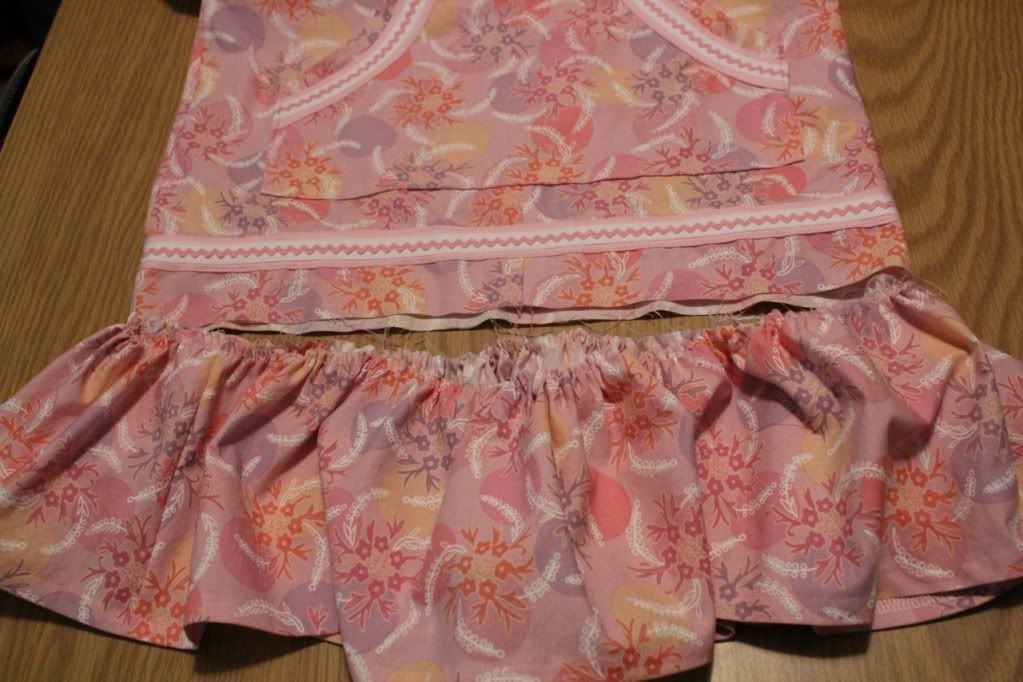
Here's my little fussy thing I like to do for the bottom trim. I sew only one side together, leaving the other open. I iron the one seam flat, pin the trim on right over the seam and sew in place. It give a nice uninterrupted look to the trim.
Of course one side will have to be sewn into the seam but I think it looks better overall. (Ignore the bottom ruffle in this photo, you'll add that later.)
Attach the sleeves and now and you're nearly done!
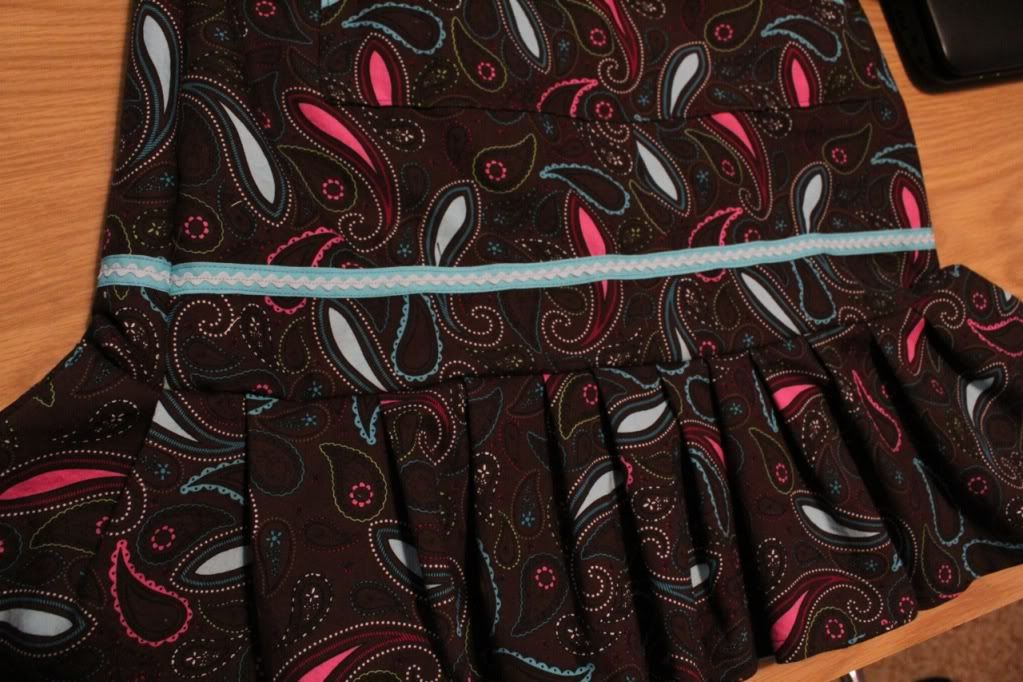
I cut the flounce about 70 to 90 inches long for adult sizes and 9 inches wide. This is quite a bit less width than the pattern flounce piece calls for. I don't have a measurement for the child's size but the size can be adjusted to your preference.
You can either gather or pleat the flounce to bring it in to the body piece. I prefer the look of gathered but pleats are quicker and easier.
Attach the flounce and iron it down and you're done! Congratulations!
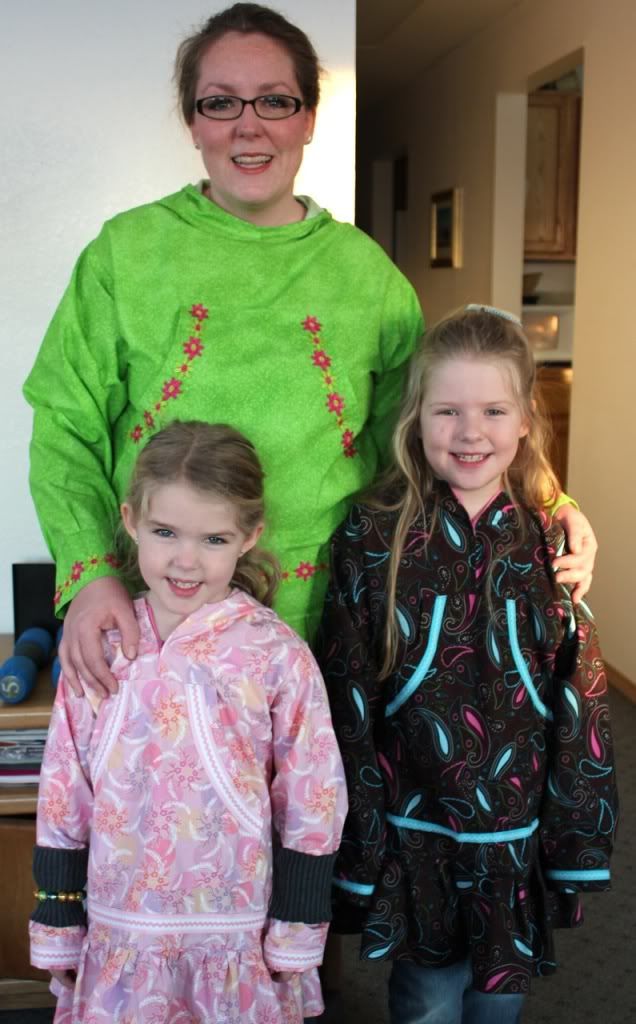
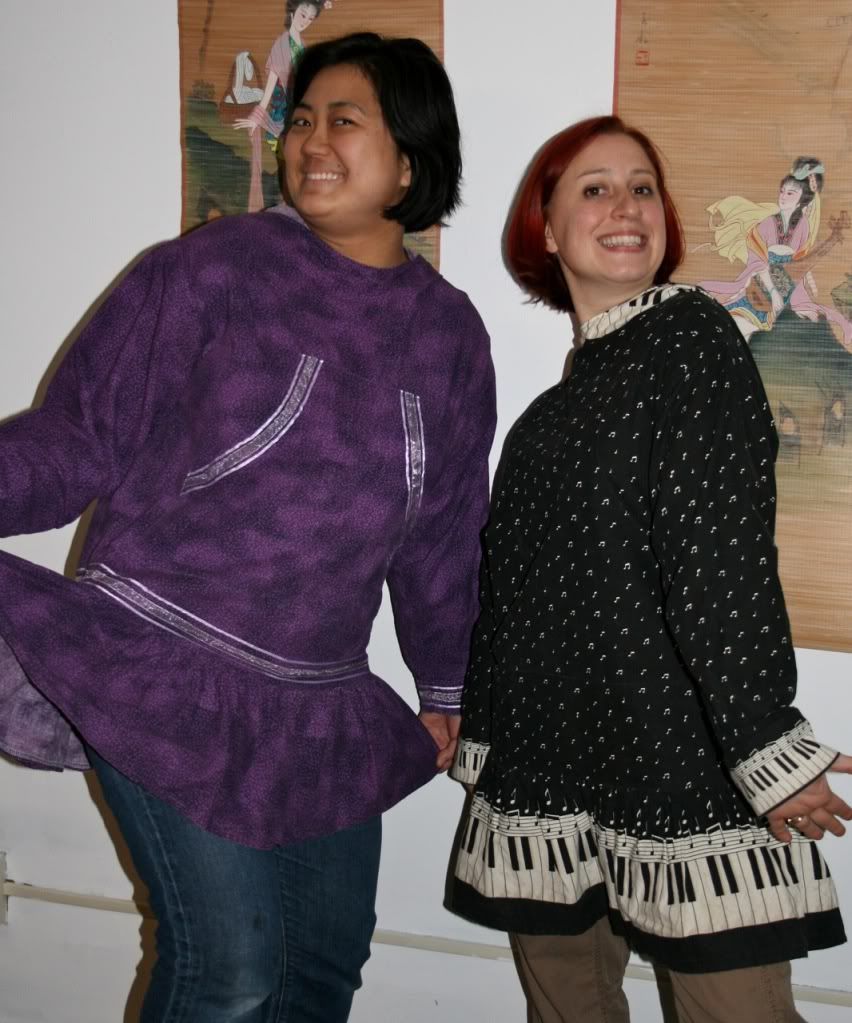
The final product an some lovely ladies.
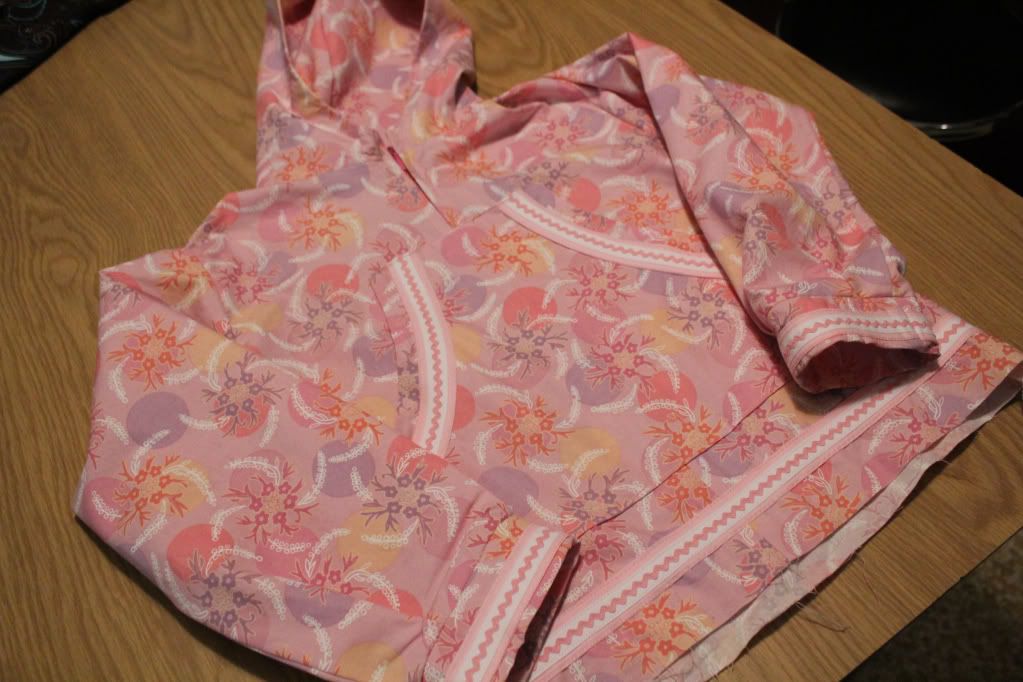
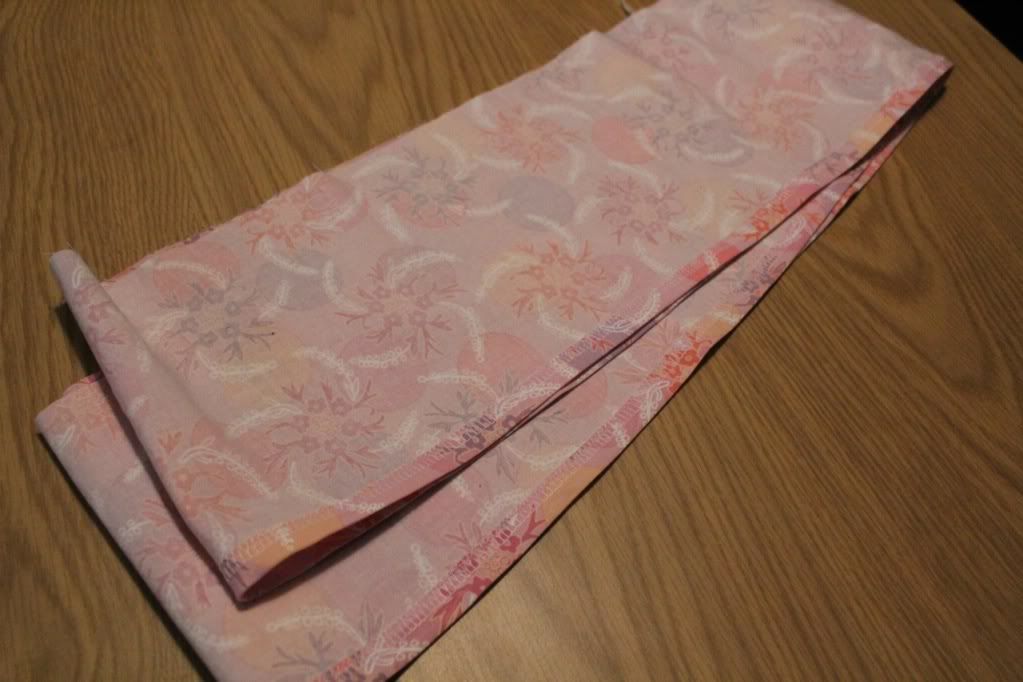
Here are a few of the kuspuks I've made over the years.
Novelty prints can be fun to use. If you cut appropriately, you can use the cute little prints in place of trim. Or in in the case of the orca print, it may look best to have no trim at all.
I hope this was useful. If something is confusing or you'd like further details, please leave a comment and I'll be happy to answer the best I can. Happy sewing everyone!
~AnnMarie


